insulation guide
How to Seal Air Leaks Around a Garage Door
Find and seal garage-door air leaks at the bottom, sides, top, and panel joints without masking drainage, door-alignment, moisture, or safety problems.
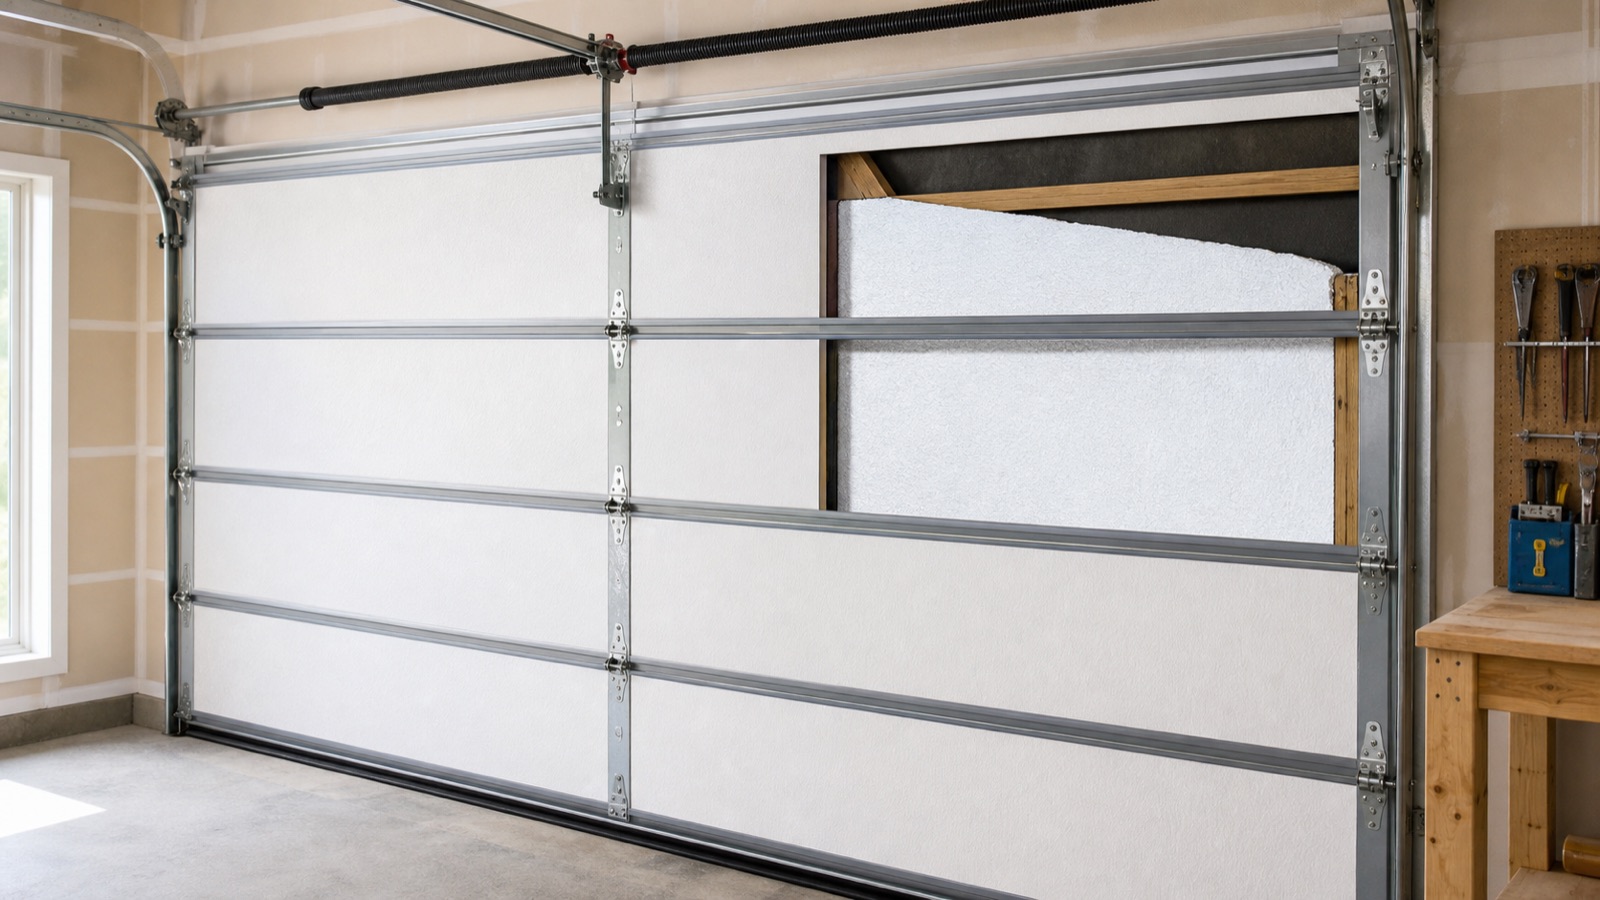
To seal air leaks around a garage door, first confirm that the door is sound, balanced, aligned, and closing normally. Then replace damaged bottom weatherseal, fit flexible stop molding along the two jambs and header, and address manufacturer-approved seals at panel joints. The seal should make continuous contact without dragging heavily, bending the door, blocking drainage, or defeating the opener’s safety-reversal system.
Air sealing is not the same as insulating. Weatherseals reduce uncontrolled air movement around the door; insulated panels slow heat transfer through the door itself. Most garages benefit from dealing with obvious leaks before adding panel insulation or buying larger heating and cooling equipment.
Find the leak before buying a seal
Inspect the closed door in daylight from inside the garage. Note visible light at the bottom corners, along each side, across the header, and between sections. A narrow, even line may indicate a worn seal. A triangular or changing gap can point to an out-of-square opening, uneven slab, damaged panel, bent track, or door-alignment problem that weatherstripping alone will not correct.
Also look for:
- cracked, torn, hard, flattened, or missing weatherseal;
- a bottom seal that no longer reaches the slab;
- perimeter stop molding that has pulled away or lost flexibility;
- water tracks, rust, staining, leaves, dust, or insect entry showing the direction of leakage;
- loose hardware, damaged rollers, frayed cables, bent tracks, or a door that closes unevenly; and
- daylight or odors at the door between an attached garage and the home.
On a cool or windy day, move a hand around the stationary door without touching moving parts. A smoke pencil used by an energy professional can make leakage paths easier to see. Do not use a candle, lighter, incense, or another ignition source in a garage where gasoline, solvents, batteries, or combustible dust may be present.
Fix active roof, wall, grading, or drainage problems before interpreting every damp area as an air leak. Wind-driven rain entering at one corner calls for a different repair from condensation forming across a cold door.
Match the seal to the location
| Leak location | Typical first response | What to verify |
|---|---|---|
| Bottom edge | Replace the door-bottom insert or assembly | Retainer profile, door thickness, gap size, slab condition |
| Bottom corners | Restore the compatible bottom and perimeter seals; use approved corner pads where specified | Door alignment and manufacturer detail |
| Sides and top | Replace or reposition flexible perimeter stop molding | Light, even contact through the full travel |
| Between sections | Use only a seal or section repair approved for that door | Pinch protection, hinge movement, added friction |
| Door into the house | Weatherstrip and provide a tight-closing code-compliant door | Fire separation, closer requirements, local code |
| Gaps in shared wall or ceiling | Seal the garage-to-house boundary with compatible materials | Fire resistance, ducts, penetrations, combustion safety |
The Department of Energy distinguishes caulk for stationary joints from weatherstripping for components that move. That is a useful boundary here: do not caulk an overhead door to its frame, fill an operating joint with expanding foam, or improvise a rigid seal where the door must travel.
1. Replace the bottom weatherseal
The bottom seal takes the most abrasion and compression. Many sectional doors use a replaceable insert that slides into an aluminum or plastic retainer; profiles and channel dimensions vary. Identify the door make and model where possible, inspect the existing retainer, and match the replacement to the manufacturer’s parts information rather than choosing by width alone.
With the door fully closed, the seal should compress enough to close small irregularities without being crushed flat. A seal that is too small leaves gaps; an oversized seal can increase closing resistance, distort contact at the sides, or encourage someone to alter opener force improperly.
If the slab is uneven, a more compliant manufacturer-compatible bottom seal may handle modest variation. A floor threshold can sometimes bridge a shallow, consistent gap, but it is not a cure for a settled slab or door that lands unevenly. A threshold must not trap water inside, create an unacceptable trip or vehicle-clearance problem, or interfere with the door’s bottom limit and reversal test. Follow its adhesive, temperature, surface-preparation, and cure instructions.
Never loosen or remove a bottom bracket, lift cable, torsion spring, extension spring, or spring anchor to change a seal. These parts can be under dangerous tension. Stop and call a qualified garage-door technician if access to the seal requires disturbing them, if the door is heavy or unbalanced, or if cables, tracks, rollers, panels, or springs appear damaged.
2. Seal the jambs and header
Perimeter weatherstrip is normally attached to the exterior stop around the two vertical jambs and the top header. Its flexible flap meets the face of the closed door. Replace material that is brittle, torn, permanently curled, or too short at the corners.
Work with the door closed and follow the door or seal manufacturer’s spacing and fastening instructions. Position the flap for continuous, gentle contact, temporarily set fasteners where the instructions allow, and operate the door to confirm it does not bind. Then finish fastening. Heavy pressure is not a better seal: it can create friction, noise, wear, and false opener obstruction events.
Pay close attention where the vertical and horizontal pieces meet. Small corner leaks often result from short cuts, shrunken vinyl, missing manufacturer-specified corner pads, or a bottom seal that does not meet the side seal. Preserve any intended drainage path at the sill.
3. Treat panel joints as a door-system issue
Sectional doors flex at every horizontal joint. Some designs include integral joint seals or profiles intended to reduce air movement and protect fingers. If daylight appears between panels, inspect for damaged sections, loose or worn hinges, failed integral seals, or misalignment.
Do not glue generic foam across hinges, pack joints with caulk, or add material that can tear away, jam the rollers, or create a pinch point. Check the owner’s manual or ask the manufacturer or a qualified technician whether a replacement joint seal exists for the model. A warped or cracked section generally needs repair, not thicker weatherstripping.
4. Retest the complete door
After any seal work, open and close the door several times while keeping people and objects clear. Confirm that it moves smoothly, closes evenly, stays within its tracks, and does not scrape or stall. For an automatic opener, repeat every safety test in the opener manual. LiftMaster’s general check includes verifying the photo eyes, confirming that an interrupted beam prevents closing, and testing contact reversal with the specified object.
Never increase closing force merely to push through a tight new seal. If travel limits need adjustment, follow the exact opener manual and repeat the reversal test afterward. Disconnect the opener and arrange professional service if safety sensors or reversal do not work correctly.
Attached garages need two different air boundaries
Weatherstripping the vehicle door can improve comfort, but it does not make garage air safe. Cars, fuel, paint, adhesives, and combustion equipment can release carbon monoxide and volatile organic compounds. EPA guidance prioritizes air sealing the walls, ceilings, penetrations, ducts, and tight-closing access door between an attached garage and occupied space.
Preserve required fire separation when sealing that boundary. Do not cover damage with ordinary foam or remove a door closer, gasket, rated assembly, or other code-required feature. Requirements vary by jurisdiction, so shared walls, ceilings, ducts, doors, and penetrations deserve local code review or qualified inspection.
The large vehicle door remains an exterior weather boundary; the garage-to-house assembly is the health and safety boundary. Tightening the first does not substitute for repairing the second. See the complete garage climate-control guide for the order in which to handle water, the envelope, pollutants, and equipment.
Watch for condensation after tightening
Air sealing can reduce cold drafts and operating cost, but it also reduces incidental drying. EPA warns that weatherization can worsen moisture problems when water sources and ventilation are not addressed. After sealing, monitor indoor relative humidity, the underside of metal panels, windows, fasteners, stored tools, and the slab during cold weather.
Wet vehicles, snow, slab moisture, unvented combustion, and laundry or hobby activities can add far more water than a garage-door leak removes. If condensation increases, identify and control the source; do not simply reopen random gaps. Exhaust or dehumidification must be selected for the climate and contaminants, and combustion appliances require proper combustion air and venting.
What air sealing can and cannot do
A good perimeter seal can reduce drafts, dust, insects, and some wind-driven moisture. It can make heating or cooling more stable and improve the usefulness of garage-door insulation. It cannot stop heat conduction through uninsulated panels, correct a damaged or unbalanced door, waterproof a garage below exterior grade, or make exhaust and chemical vapors harmless.
If heating cost is the reason for the project, seal first and then revisit the garage heating-cost guide and heater-size estimator. For an unfinished space, the guide to heating an uninsulated garage explains why reducing leakage is usually more sensible than simply adding heater capacity. In summer, use the same envelope-first logic before choosing equipment to cool a garage without windows.
A practical inspection schedule
Inspect seals at the start of the heating or cooling season and after a door impact, track repair, slab movement, or noticeable change in closing behavior. Clean the contact surfaces with products approved for the seal material, remove debris from the threshold area, and replace pieces that have split or lost resilience. Recheck the door’s balance and automatic safety functions according to the owner’s manuals.
The goal is not a hermetically sealed garage. It is a compatible, maintainable weather seal around a safe, correctly operating door, backed by a sound garage-to-house boundary and a deliberate moisture and ventilation plan.
Sources
- U.S. Department of Energy — Energy-Efficient Home Improvement Credit Insulation and Air-Sealing Essentials
- U.S. Environmental Protection Agency — Healthy Indoor Environment Protocols for Home Energy Upgrades
- U.S. Environmental Protection Agency — Energy
- Clopay — Garage Door Seals Guide
- Clopay — Garage Door Replacement Parts Guide
- LiftMaster — Garage Door Opener Safety Check